Appearance
Welcome to Connectwise
Welcome to your Screenconnect
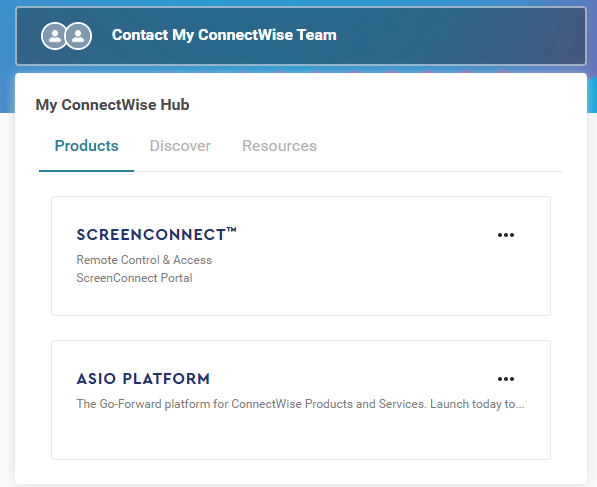
On the far right, you have 2 quick access areas. Screenconnect and ASIO Platform.
- Screenconnect will take you to the Dashboard of
- ASIO Platform will take you to the
Open me for a visual reference
ASIO PLATFORM
❗TO NOTE❗
Please bare in mind that the platform does not live update. You will need to refresh to see changes.
This is where you’ll do most of your work. The sidebar (which may be collapsed by default) will display everything you have access to. Currently, you have basic access, but over time, you will gradually gain more permissions. We've given less permissions so it's not too overwhelming and you can get to what you need to quickly. Rest assured, you have more than enough permissions to continue your day-to-day operations.
Open me to see your Sidebar options
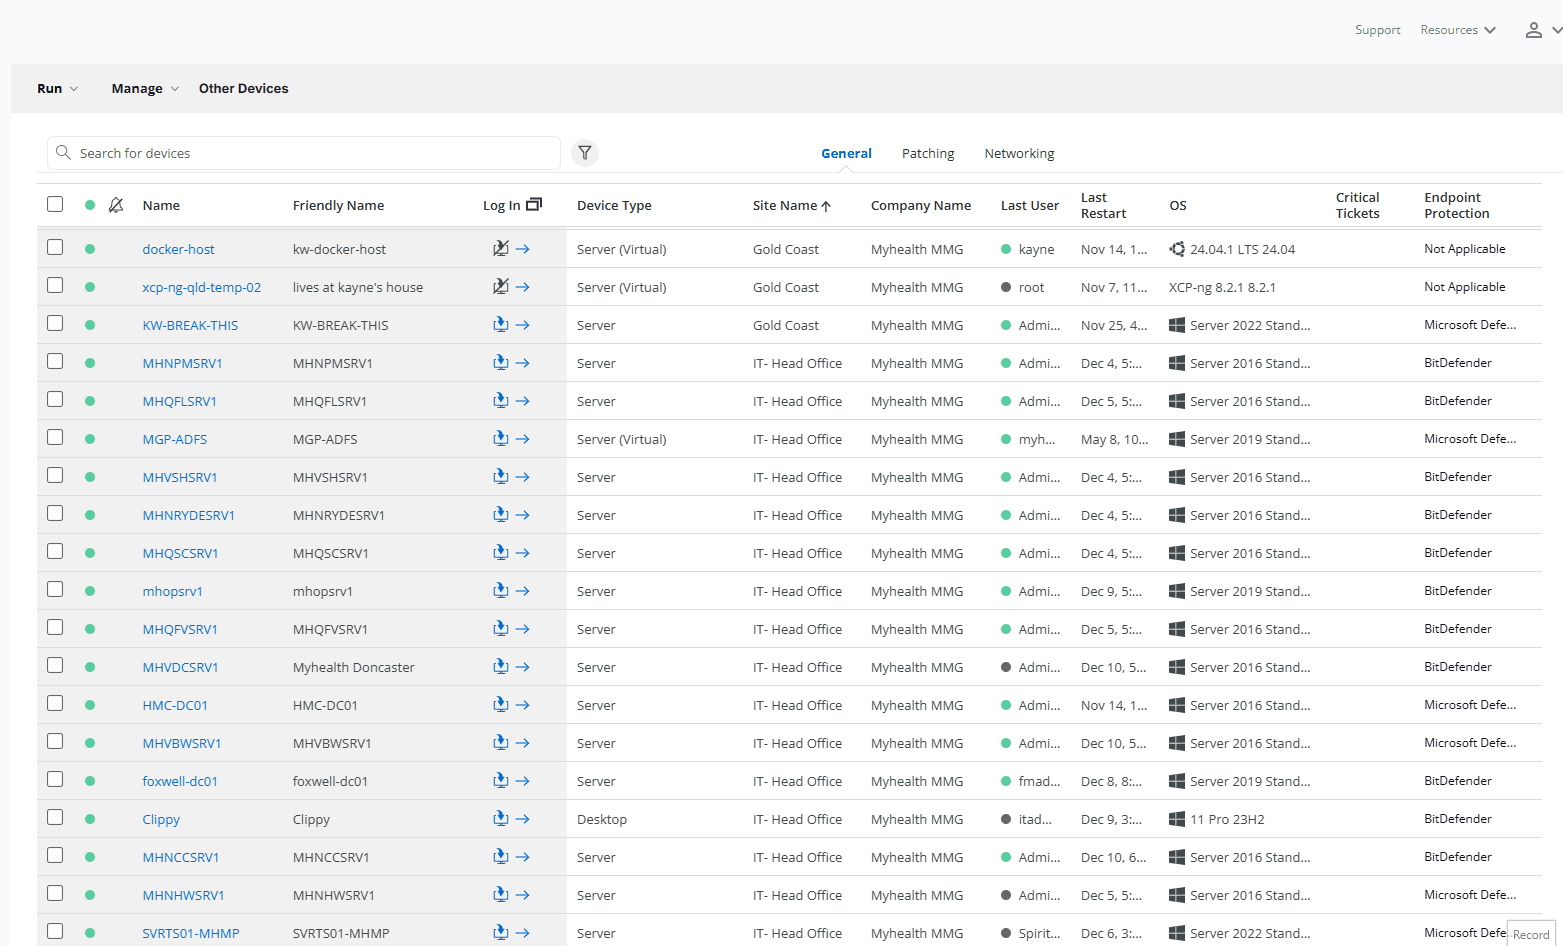
DEVICES
Under “Endpoints” > “Devices” is where you’ll spend majority of your time. This section displays all devices (Servers and Desktops) along with the corresponding site where each device is located.
Device TOC
NAME VS FRIENDLY NAME
The difference between Name and Friendly name is that name is the Hostname of the machine, whilst Friendly name is a nickname given.
The Hostname or Friendly name are capable of being searched.
REMOTE CONNECTING TO DEVICES
You can hover over any device in the “Log In” column to instantly access Screenconnect for remote control of the device.
Description of each option
- Screenconnect Remote Access: Pretty much a direct equivalent to TeamViewer, allowing the user to see you on their machine.
- Screenconnect Dashboard: A hyperlink that takes you directly to the Screenconnect Dashboard.
- Screenconnect Backstage: Provides the ability to work in the background with limited visuals and tools.
INFO
On your initial connection, you'll be prompted to download and install the ScreenConnect.ClientSetup.exe
After you've installed the client you should be able to easily connect to any device online using that quick access menu. Alternatively, you can go to the However, you don't need to explicitly go to the ScreenConnect Dashboard to do your day-to-day operations.
Open me to see the whole workflow to connect to a device (GIF)
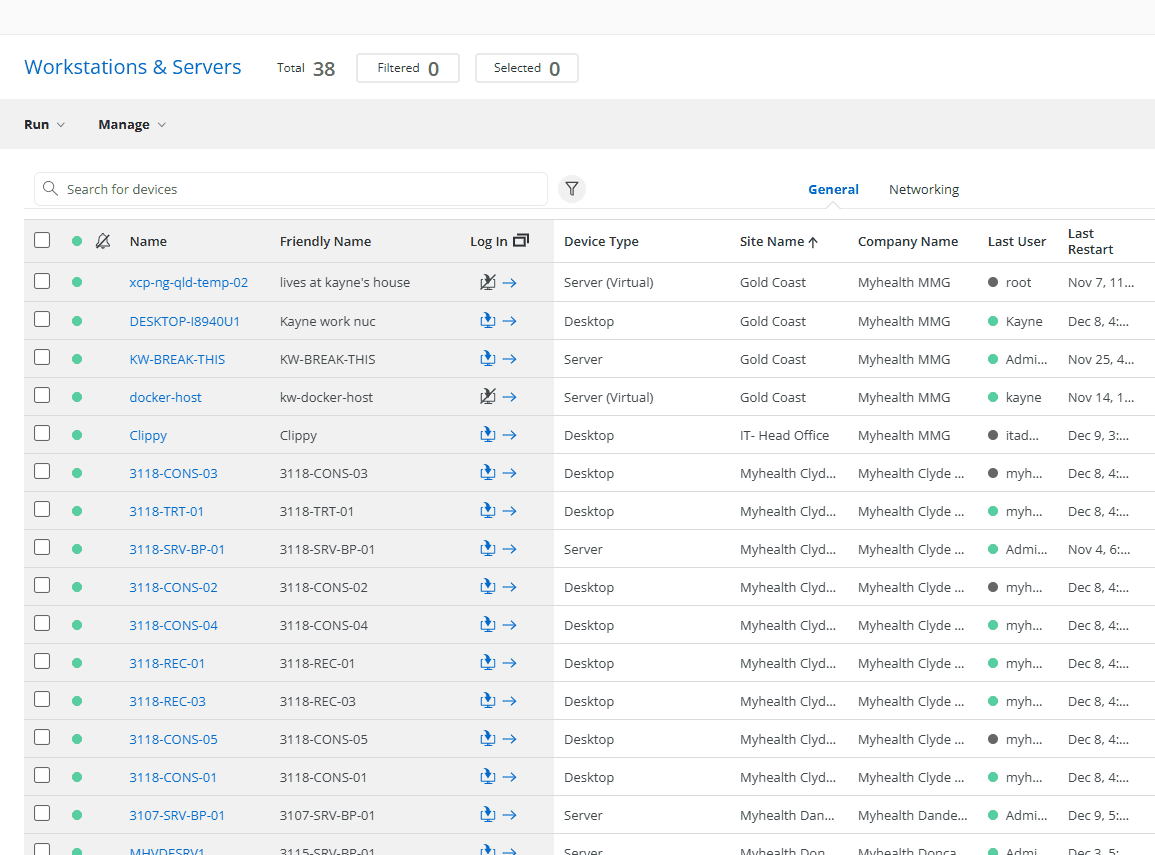
FILTERING
Given the extensive device list, it's most likely advantageous to utilise filtering or search options. You can use the basic search box for quick filtering to specific categories such as:
- Sites / Companies
- IP Addresses
- Operating Systems (OS)
Alternatively, you can use the filtering button  located next to the search box to simplify the process.
SCRIPT RUNNING
In the device section, we can execute scripts quickly and on the fly. Follow the interactive tutorial below for guidance on how to do this.
Click "Fullscreen" in the top right to enlarge if you are having issues viewing
TIP
By clicking on the device and navigating to the Automation Tab, you can view a log of all previous scripts that have been executed on that machine.
Open me for a visual reference
TIP
Not selecting a device before running a script will allow you to choose where you'd like to deploy the script.
Open me for a visual reference
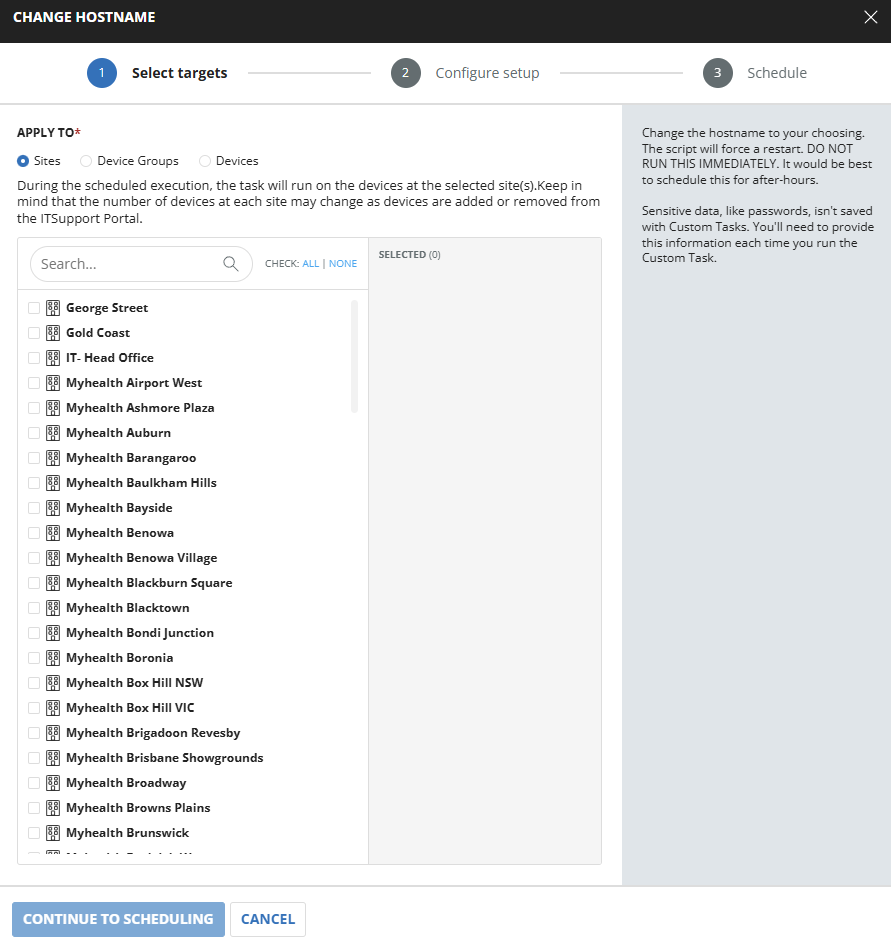 Allowing you to choose between a whole site, device or group.
 NOTE
Scripts that do not need to be executed immediately to resolve an issue should always be ran outside of business critical hours. (Scheduled)
WARNING
To enable you to run scripts, we had to grant access for creating scripts. Please refrain from creating any unless you have a solid understanding of how to set them up within ConnectWise. We aim to maintain a collection of helpful and effective scripts, rather than an excessive number that may not be beneficial.
CREATING AN AGENT FOR A SITE
DANGER
Failing to download an agent to a machine prevents us from remotely accessing it. Therefore, it's crucial to ensure the agent is deployed to the correct company/site before proceeding with actual deployment of the machine.
Via the Device Management section, we're able to download an agent for a specifc Company and site. Follow the interactive tutorial below to learn how to do this through the Device Management section.
Click "Fullscreen" in the top right to enlarge if you are having issues viewing
INFO
If you forget to install the RMM agent, download and provide the .msi or give the URL to the Practice Manager to install.
ASSIGN AGENT TO ANOTHER SITE
Each agent (RMM program) is individualised to it's respective Company/Site using a UUID (Universally Unique Identifier). It is important to reassign agents to a different site if the machine has changed from its original Company/Site to another. Follow the interactive tutorial below to learn how to do this through the Device Management section.
Click "Fullscreen" in the top right to enlarge if you are having issues viewing
Companies / Sites
Navigating to Clients > Companies will provide you with a list of all our current "Companies" (Each site is now treated as its own company, with each site operating under its respective company.) This structure enables us to implement tailored monitoring for each specific site, along with a variety of other benefits as needed.
You are able to:
- Create
- Edit
- Delete
Companies and sites.
Though we suspect this won't be overly used, and only utilised when creating a new site.